Description
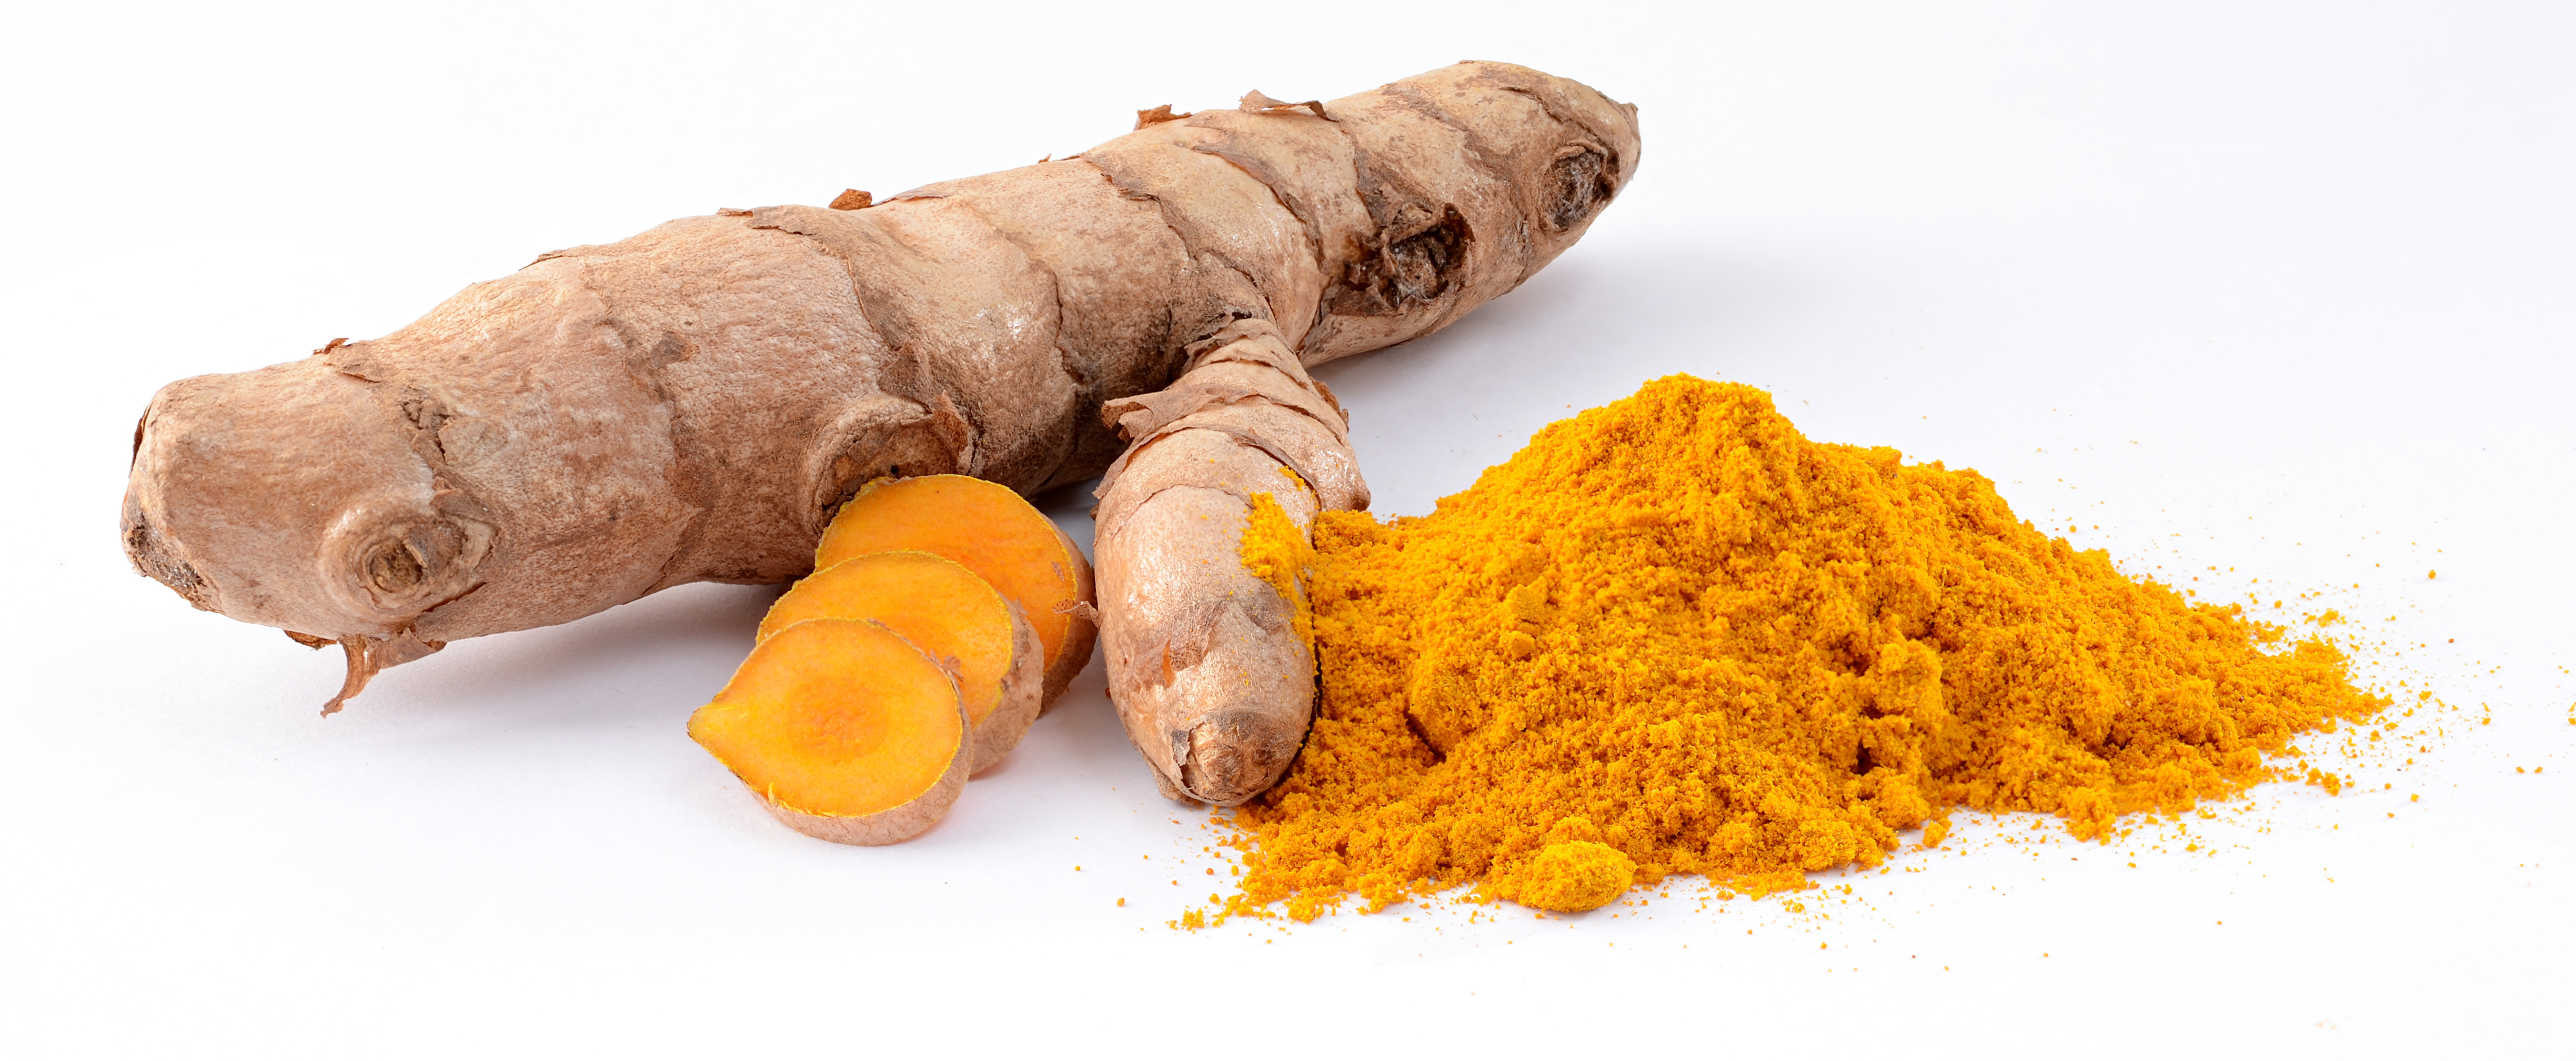
Turmeric was initially cultivated as a dye due to its vivid yellow color. Currently, it is widely used as a key ingredient in Sri Lankan cuisine, Ayurvedic medicine, and traditional ceremonies.
Turmeric has a warm, bitter taste with a mild fragrance reminiscent of orange and ginger. It's often used to flavor or color curry powders, mustards, butter, and cheeses. In Sri Lankan cuisine, it's a staple in many curry dishes, adding both flavor and a rich golden color.
The main chemical compound in turmeric is curcumin, which gives it its characteristic yellow color. Curcumin is known for its potential anti-inflammatory and antioxidant properties, making turmeric a popular subject in health research.
Planting requirements
Planting season: March to April and September to October
Planting conditions:
| Propagation | Rhizomes |
|---|---|
| Planting method | Need to plant in raised beds or ridges. The field should be ploughed up to 35-40cm in depth and tilled to prepare the soil. Preferably the beds should be 4ft in width and 10ft length. But can vary with the space available. Select plump rhizomes with several bumps and plant them 3-4 bumps each |
| Soil | Can be grown in many soil types. Preferably a soil pH of 5.5 – 6.5. A well-drained sandy clay loam soil rich with organic matter and sandy loam are the most suitable for growing turmeric. Red and lateritic soils common in Sri Lanka are also suitable. Poorly drained rocky or clay type soils are not suitable |
| Water | Requires ample water though without waterlogging conditions |
| Light | Requires partial sunlight/medium shade |
Growing conditions:
| Temperatures | Grows in temperature between 20 °C – 35° C |
|---|---|
| Soil | In order to protect moisture and to keep the weeds under control, mulching is recommended immediately after planting. Paddy straw, coconut husks, coir dust, dry leaves or Gliricidia leaves are most suitable mulching materials. Gliricidia leaves can be added as an organic fertilizer and is also ideal for protecting the soil moisture |
| Water | Its important to keep the soil moist without making it excessively wet. Hence, using a slow drip hose or soaker hose can be useful for consistent watering |
| Pruning | Prune damaged leaves regularly |
| Weed control | Hand-pull weeds regularly and apply organic mulch to suppress weed growth |
Harvesting
Harvesting is done after 8-10 months of planting. Hence, turmeric planted during March to April can be harvested by December to January, and September to October can be harvested by June to July. During that time, the plants become yellow in color and leaves start drying. Harvesting should be done without damaging the rhizomes and attached soil clusters should be removed with a wooden stick.
Curing
After harvesting, cure turmeric rhizomes by spreading them out in a shaded area for 2-3 weeks to reduce moisture content. Processing turmeric involves boiling the rhizomes for about 30-45 minutes, then drying them in the sun for 10-15 days. Once dried, they can be ground into the familiar yellow powder used in cooking and traditional medicine.
Storage
Store cured turmeric rhizomes in a cool, dry place. They can be stored for up to one year.
Protecting your plants
Pest control
Pest type:
- Shoot borer
- Rhizome scale
- Leaf roller
Symptoms:
- Holes in stems
- Rolled leaves
- Sticky honeydew on leaves
Control method:
- Destroy damaged plant parts
- Use neem oil or other organic pesticides
Disease Control
Disease type:
- Rhizome rot
- Leaf blotch
Symptoms:
- Rhizome rot: Wilted plants with yellowing leaves
- Leaf blotch: Water-soaked spots on leaves that enlarge and turn brown
Management:
- Avoid overhead irrigation
- Maintain good air circulation
- Remove infected plant parts
- Use disease-resistant varieties if available
Sources
In addition to our General List of Sources (link), we used these specific references:
